
Fitting a shower tray might seem simple, but getting it just right can save you from leaks, cracks, and costly repairs later. You want your bathroom to look great and work perfectly every time you step in.
In this guide, you’ll discover the best way to fit a shower tray that’s secure, watertight, and built to last. Keep reading to learn the step-by-step process that even beginners can follow, so you can enjoy a flawless shower space without stress.
Credit: royalbathrooms.co.uk
Choosing The Right Shower Tray
Choosing the right shower tray is key to a smooth installation and lasting use. It affects comfort, safety, and the overall look of your bathroom. Select a tray that fits your space and meets your needs. Consider materials, size, shape, weight, and durability before buying. This helps avoid problems during fitting and daily use.
Material Options
Shower trays come in different materials. Acrylic trays are light and warm to touch. Stone resin trays feel solid and look stylish. Ceramic trays are heavy but very durable. Each material offers unique benefits. Choose one that suits your budget and style.
Size And Shape Considerations
Measure your bathroom space carefully. Shower trays come in square, rectangular, and quadrant shapes. Pick a shape that fits well in your bathroom corner or wall space. Make sure the size allows enough room to move comfortably.
Weight And Durability Factors
Heavy trays need strong support during installation. Light trays are easier to handle but may scratch. Durable trays resist cracks and stains over time. Check the weight and strength to match your bathroom floor and use.
Preparing The Installation Area
Preparing the installation area is the first step to fit a shower tray correctly. This stage sets the foundation for a secure and lasting fit. Careful preparation prevents problems later, like leaks or uneven surfaces. Focus on measuring, leveling, and clearing the space before starting the installation.
Measuring The Space
Measure the area where the shower tray will go. Use a tape measure for accuracy. Check width, length, and height. Measure twice to avoid mistakes. Note down the dimensions clearly. These numbers guide the choice of the right tray size.
Ensuring A Level Base
Check if the floor is level using a spirit level. A flat base stops water pooling and tray movement. Fix uneven spots by sanding or adding a leveling compound. Wait for the surface to dry before placing the tray. A level base supports the tray evenly.
Clearing Debris And Obstacles
Remove dust, dirt, and loose materials from the area. Clear away pipes, nails, or anything blocking the space. Clean the floor thoroughly with a brush or vacuum. A clean surface helps the tray sit firmly. Avoid gaps caused by debris under the tray.
Essential Tools And Materials
Fitting a shower tray needs the right tools and materials. These help you work faster and get a clean result. Using proper items also keeps the tray stable and leak-free.
Choosing the correct tools and sealants makes the job easier and safer. It also helps stop water damage and keeps the shower strong for years.
Required Tools List
- Measuring tape – for exact tray size
- Spirit level – to check flatness
- Electric drill with bits – to fix screws
- Silicone gun – for sealant application
- Adjustable wrench – for plumbing connections
- Handsaw or jigsaw – to cut tray or pipes
- Notched trowel – to spread adhesive evenly
- Rubber mallet – to gently tap tray into place
- Protective gloves – to keep hands safe
Recommended Sealants And Adhesives
Use waterproof silicone sealant for all edges and joints. It stops water from leaking out. Choose a sealant labeled for bathrooms or wet areas.
For fixing the tray, a strong tile adhesive or mortar works best. This holds the tray firmly and avoids movement. Select a product that bonds well with plastic or stone trays.
Check the drying time on sealants and adhesives. Let everything cure fully before using the shower. This prevents leaks and ensures a long-lasting fit.
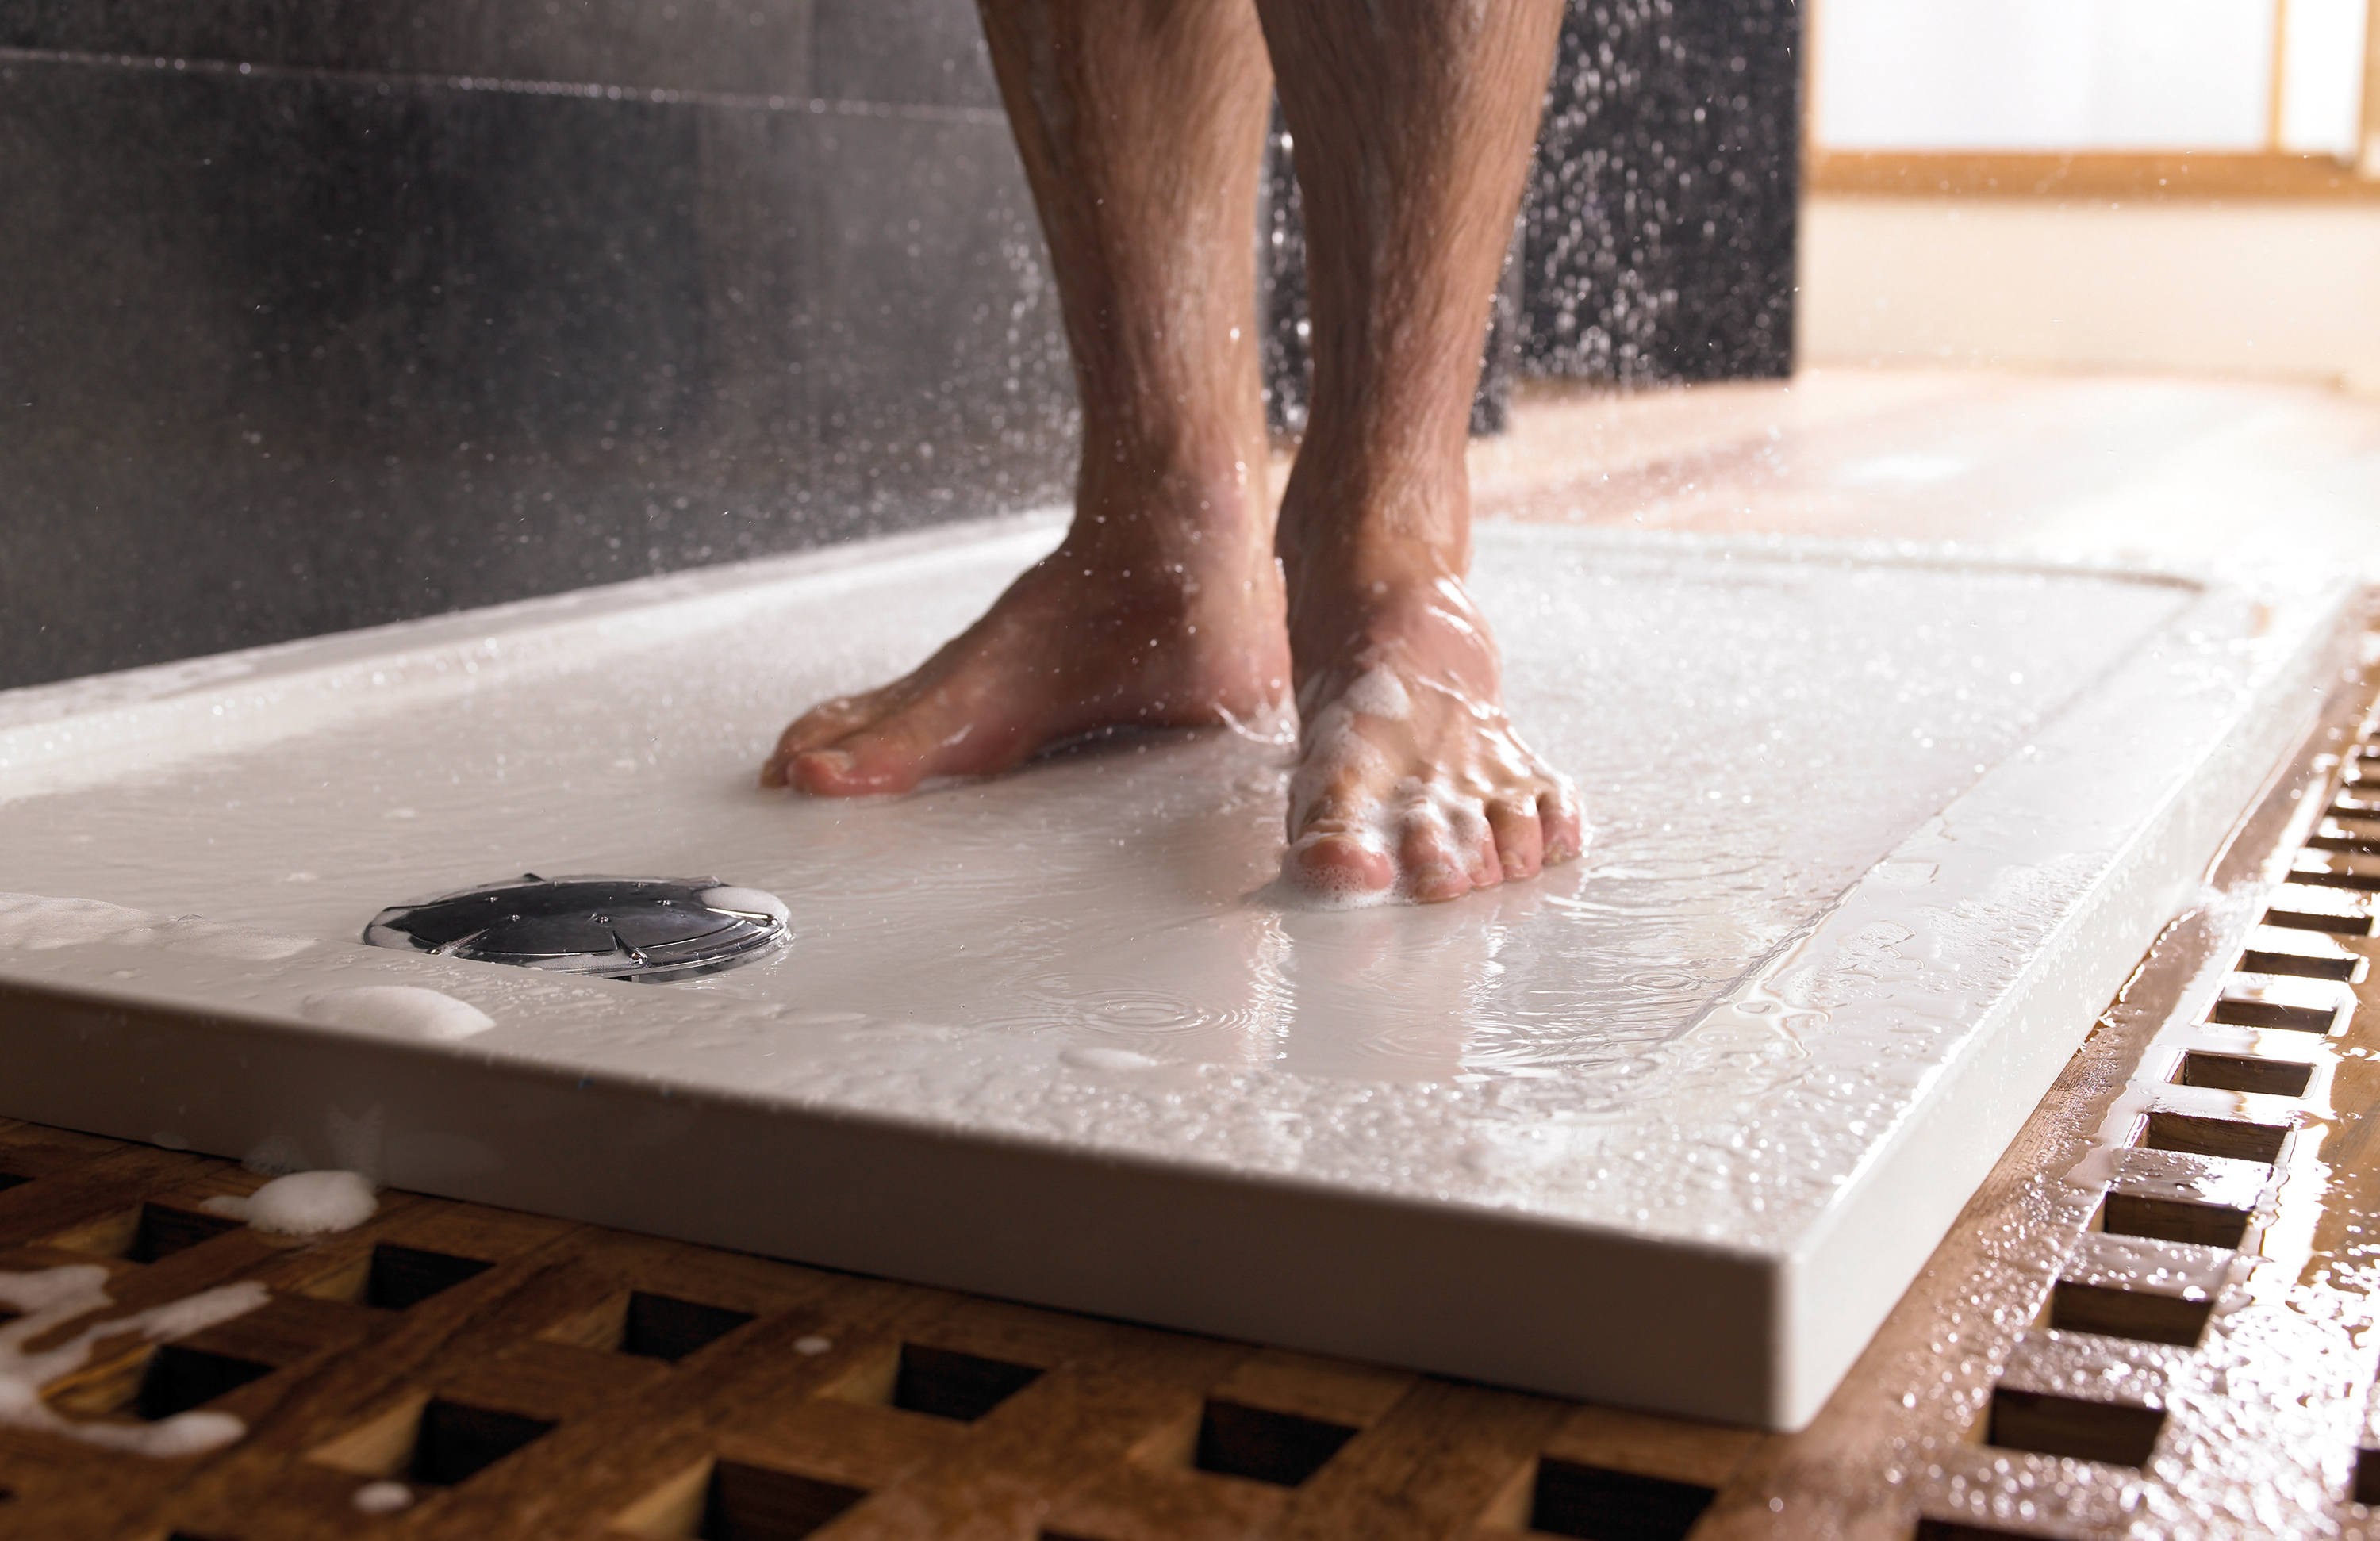
Credit: www.mirashowers.co.uk
Step-by-step Installation Process
Installing a shower tray needs care and accuracy. Follow each step to ensure a strong and watertight fit. This guide breaks down the process clearly. Keep tools and materials ready. Work patiently for best results.
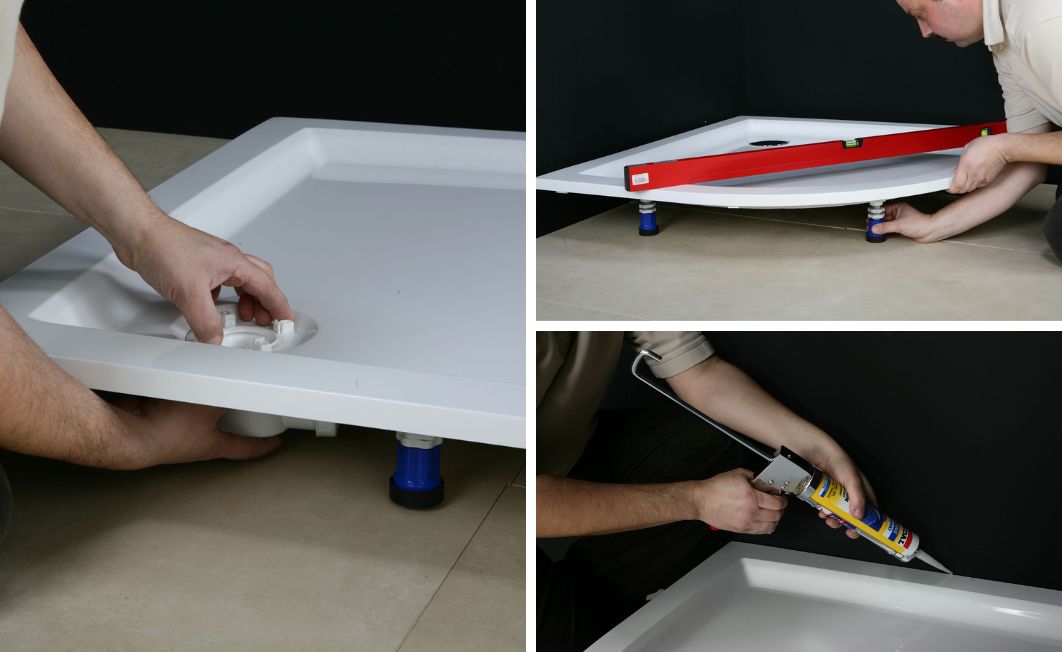
Positioning The Tray
Place the shower tray in the desired spot. Check that it fits well and is level. Use a spirit level to confirm evenness. Adjust the tray’s position until it sits flat. Mark the edges lightly with a pencil.
Securing The Drain
Attach the drain to the tray’s outlet firmly. Use plumber’s putty or a rubber seal to stop leaks. Tighten the drain fitting with a wrench. Test by pouring water to check for leaks. Fix any loose connections before proceeding.
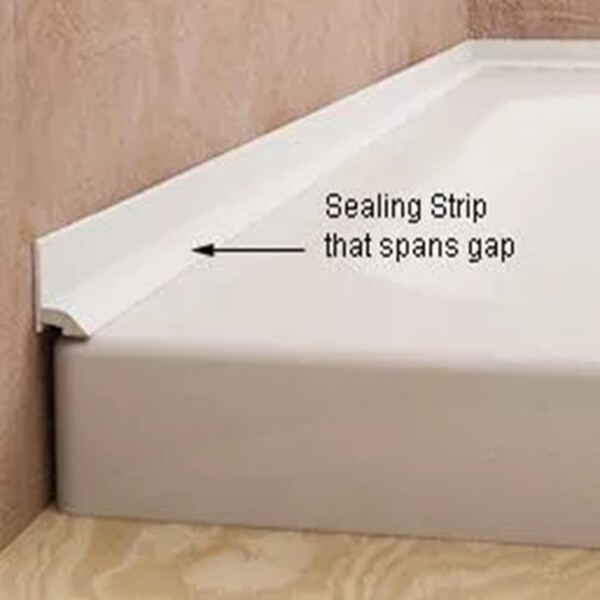
Applying Sealant
Apply a waterproof sealant around the tray edges. Use a sealant gun for an even line. Smooth the sealant with a wet finger or tool. Seal all joints where the tray meets walls or floor. Let the sealant dry fully before next steps.
Fixing The Tray In Place
Secure the tray using screws or adhesive as needed. Follow manufacturer instructions for the right method. Double-check the tray is level after fixing. Clean any excess sealant or debris. Allow the installation to set before use.
Common Installation Mistakes
Installing a shower tray seems simple, but many make common mistakes. These errors cause problems like leaks, uneven surfaces, and poor drainage. Avoiding them saves time and money. Understanding these mistakes helps you fit your shower tray correctly and lasts longer.
Avoiding Uneven Surfaces
An uneven surface causes the tray to wobble or crack. Always check the floor with a spirit level before installation. Use a self-leveling compound if the floor is uneven. A flat base ensures the tray sits firmly and drains water properly.
Preventing Water Leaks
Leaks often happen due to poor sealing around the tray edges. Use high-quality silicone sealant and apply it evenly. Check all joints and corners carefully. Allow the sealant to dry fully before using the shower. Proper sealing keeps water inside and protects your bathroom.
Handling Drain Alignment Issues
Drain misalignment can block water flow and cause puddles. Measure the drain hole on the tray and match it to your bathroom drain pipe. Adjust the pipe or use a suitable adaptor if needed. Correct alignment ensures smooth water drainage and prevents future clogs.
Credit: sanplast.pl
Maintenance Tips For Longevity
Keeping your shower tray in good shape extends its life and keeps it safe. Small daily actions help avoid costly repairs. Simple care stops damage before it starts. Follow easy steps to protect your shower tray for years.
Regular Cleaning Practices
Clean your shower tray at least twice a week. Use mild soap and warm water. Avoid harsh chemicals that can damage the surface. A soft cloth or sponge works best. Rinse well to remove soap residue. Dry the tray after cleaning to stop mold growth.
Inspecting For Damage
Check your shower tray every month. Look for cracks, chips, or discoloration. Small cracks can grow and cause leaks. Watch the edges where the tray meets the wall. Early detection helps fix issues quickly. Use a flashlight for better visibility.
Sealing And Repairs
Seal the edges around your shower tray regularly. Use waterproof silicone sealant for best results. Remove old sealant before applying new. Repair small cracks with a shower tray repair kit. Fix problems early to avoid water damage. Let sealant dry completely before using the shower.
Frequently Asked Questions
How Do I Prepare The Floor For Fitting A Shower Tray?
Clean and level the floor thoroughly before installation. Remove debris and ensure the surface is flat. Use a spirit level to check evenness. Apply a waterproof membrane if required. Proper preparation prevents leaks and ensures the tray fits securely and lasts longer.
What Tools Are Needed To Fit A Shower Tray?
You need a spirit level, drill, silicone sealant, screws, and a tape measure. A saw may be required to adjust the tray size. These tools help ensure precise fitting and a watertight seal for your shower tray installation.
How To Ensure The Shower Tray Is Properly Leveled?
Use a spirit level across the tray during installation. Adjust the tray by adding or removing mortar beneath it. Proper leveling ensures water drains correctly and prevents pooling. Double-check all sides for evenness before securing the tray.
Can I Fit A Shower Tray Myself Or Hire A Professional?
DIY fitting is possible with basic skills and tools. However, professional installation ensures correct fitting and waterproofing. Hiring experts reduces risks of leaks and damage. Consider your experience and confidence before deciding.
Conclusion
Fitting a shower tray right makes your bathroom safe and neat. Take time to measure carefully and check levels twice. Use the right tools and materials for a strong fit. Follow steps slowly, and don’t rush the process. A well-fitted tray stops leaks and keeps water contained.
Enjoy your clean, dry bathroom with confidence. Simple planning and care bring the best results every time. Ready to start? Your new shower tray awaits!